If you are trying to learn how to edit images with Adobe Photoshop and do not know where to start and where to finish then you are at the right place now. I started writing about every detail of Photoshop tutorials on the website of Offshore Clipping and today is the day to learn how to crop and straighten images.
From my learnings in the photoshop clipping path industry for years, I have been sharing different techniques and tutorials through Adobe Photoshop. On that note, today, I will share a tutorial on how to crop and straighten your images with Photoshop.
You may also interested to learn:
– The technique of resizing an image in Photoshop
– The technique of creating and using clipping masks in Photoshop
If you work in the photography industry, you must know that all images will never be perfectly captured for the first time and most of them have some flaws. Having extra edges than necessary is a very common issue.
To avoid these sorts of issues, you need to take the help of the Photoshop Cropping Tool.
Now, how does it work?
Tutorial: How to Crop and Straighten an Image in Photoshop
Follow the steps below if you want to learn how to crop and straighten an image in photoshop
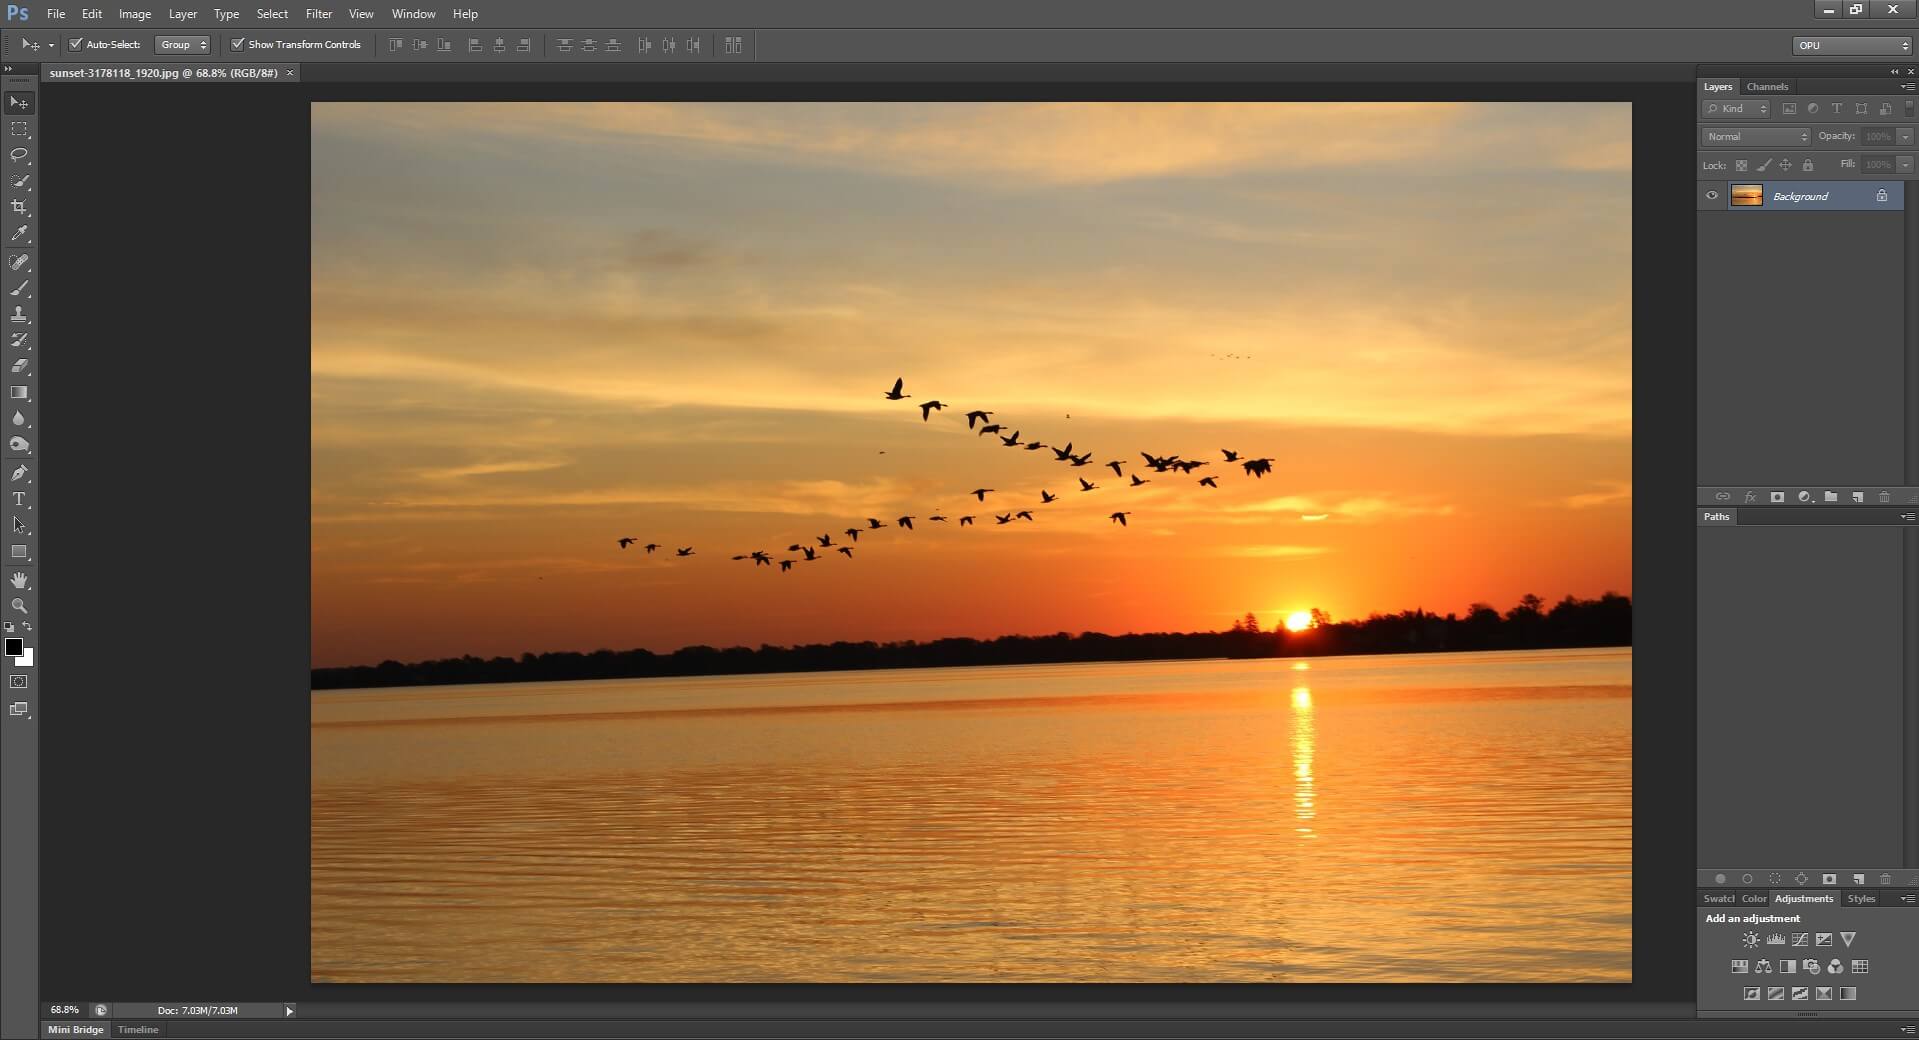
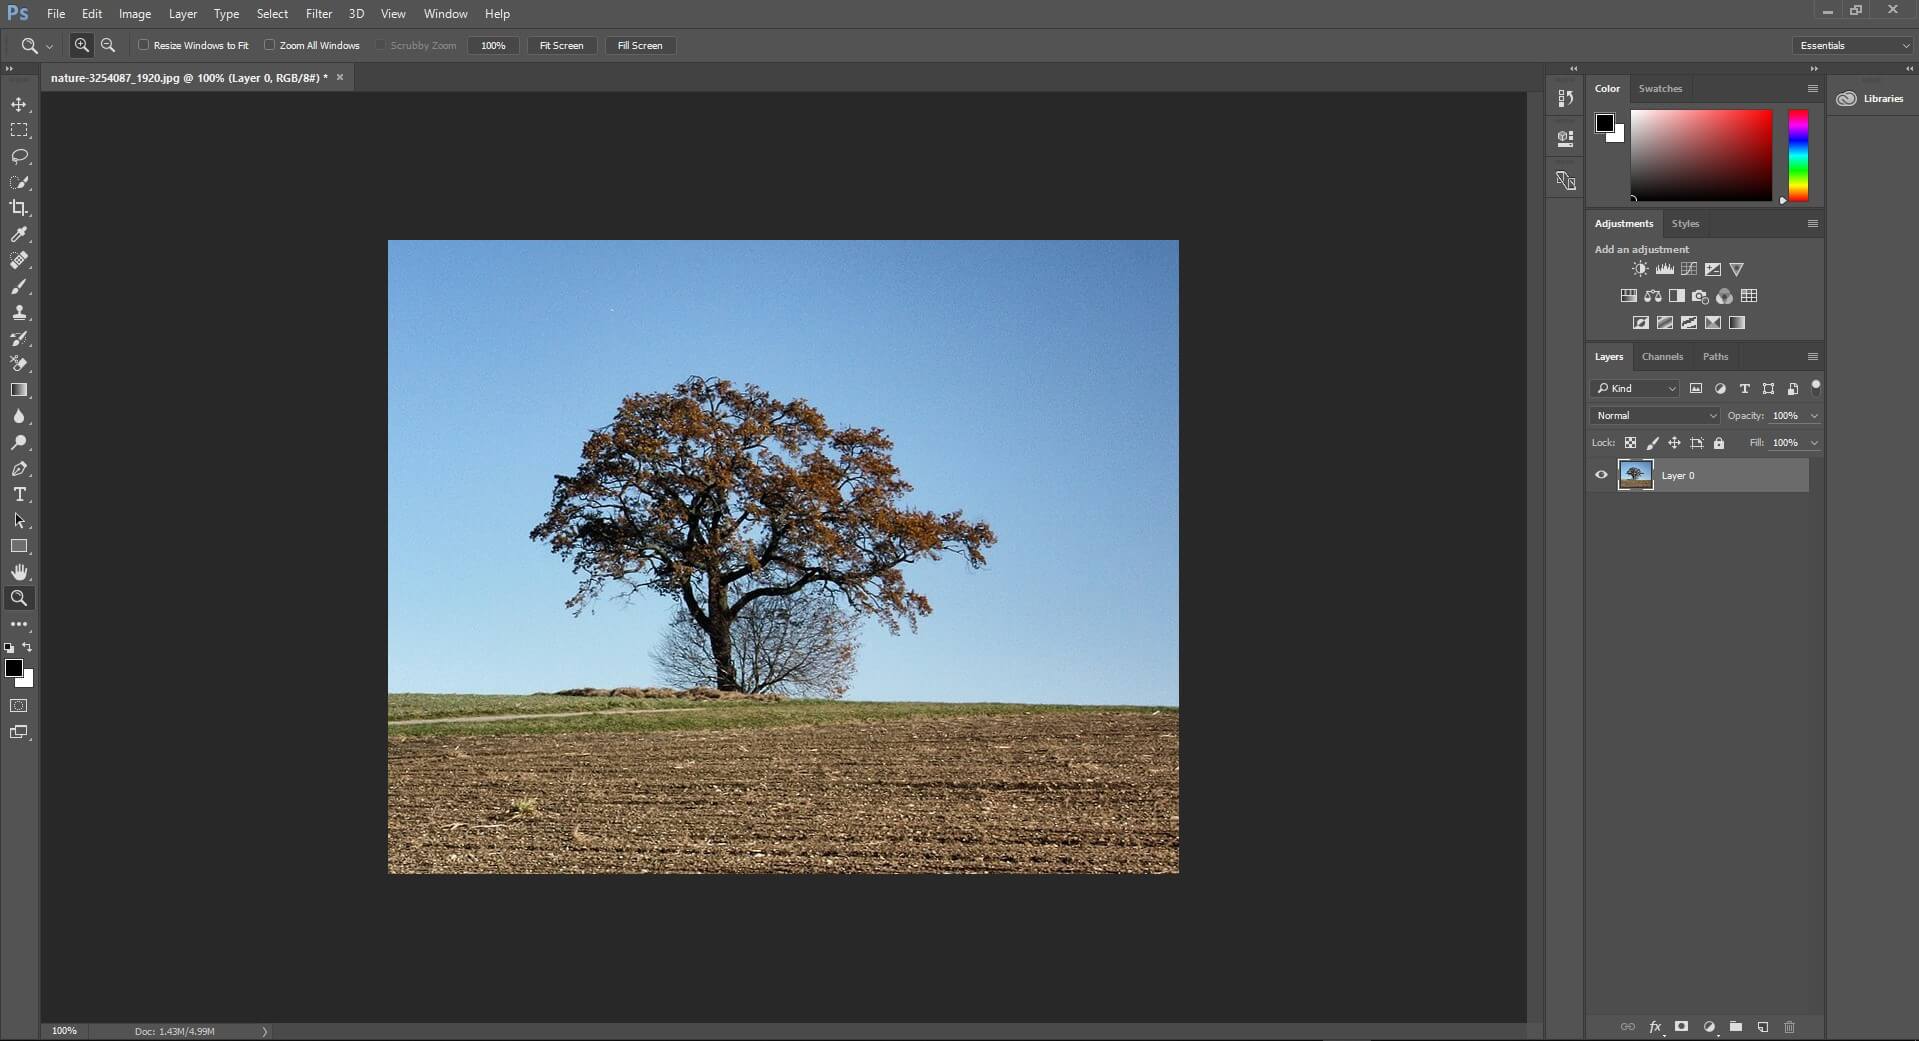
Step 1: Open Your Image File With Adobe Photoshop
Open the image in Photoshop by clicking > File from the menu bar. Then click > Open.
Step 2: Select the Crop Tool
Select the Crop Tool From the toolbar in photoshop or (press C)
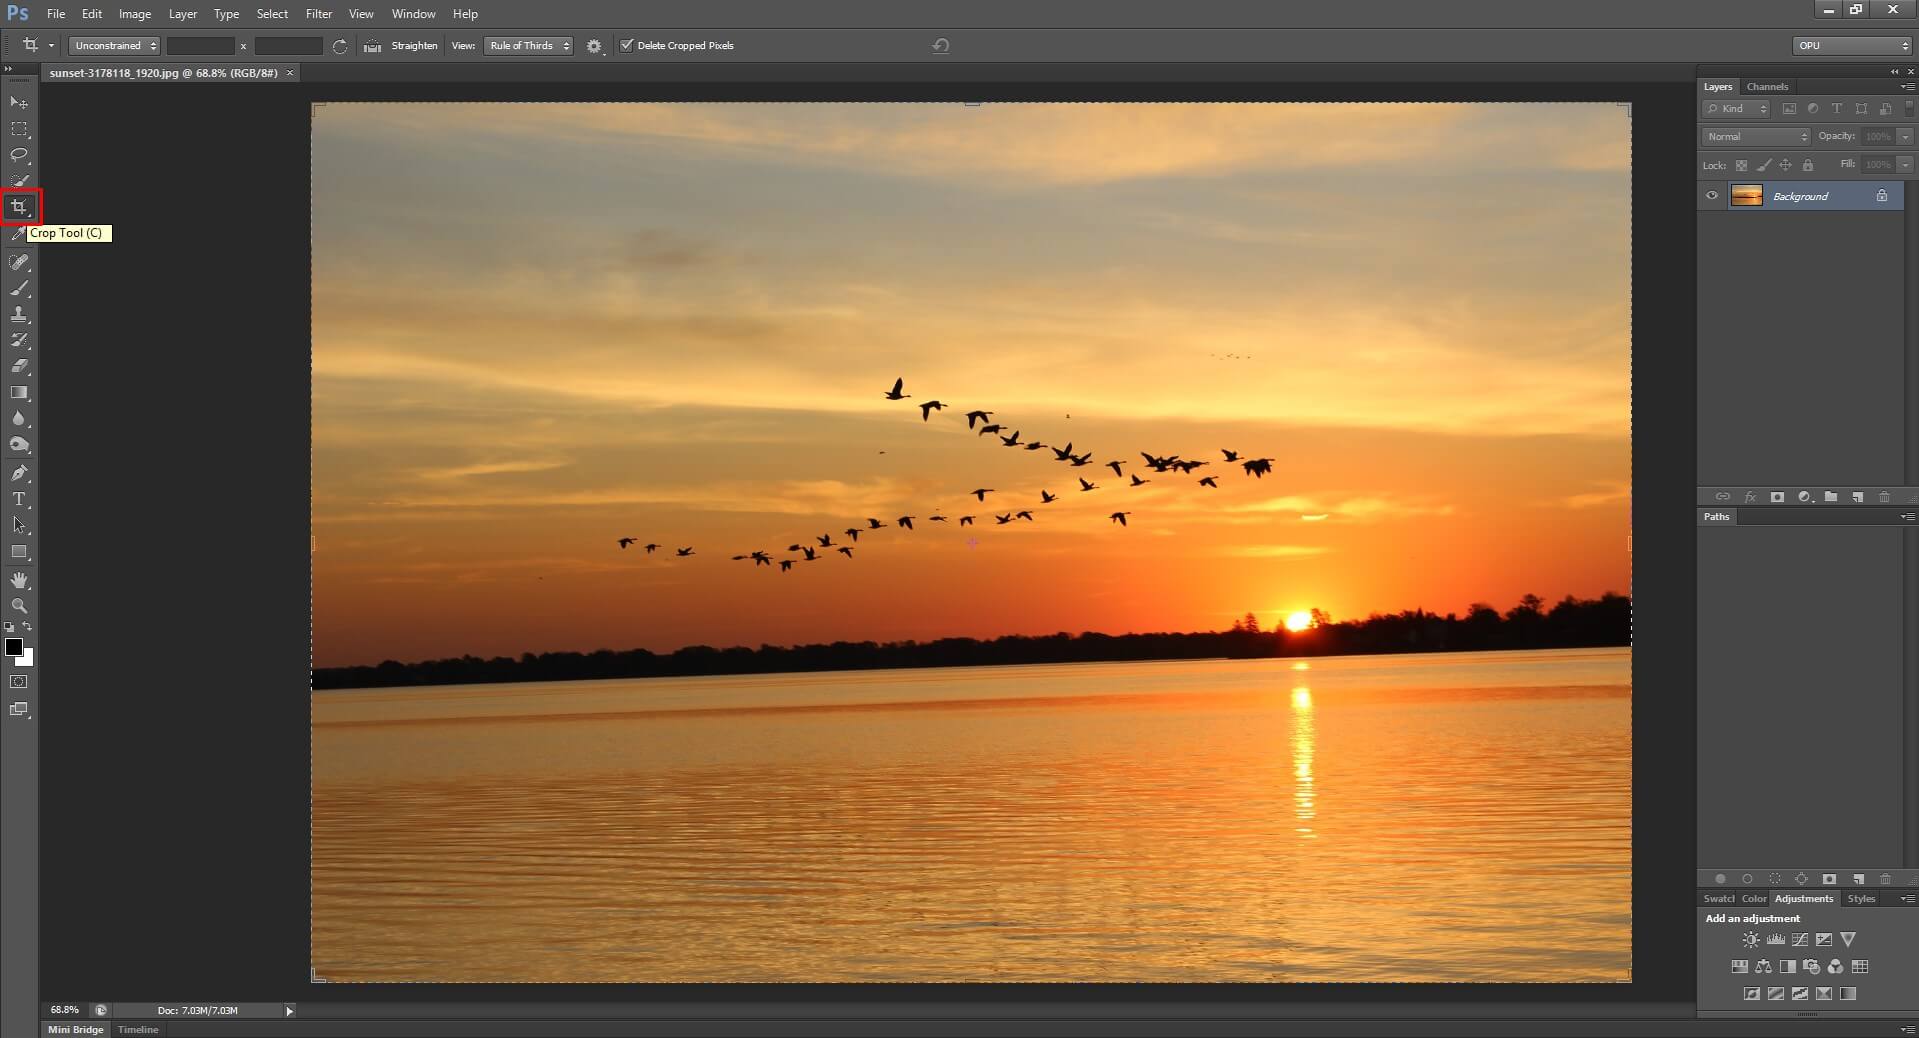
*** Keep the “Delete Cropped Pixels” deactivated if you want to go back to your image

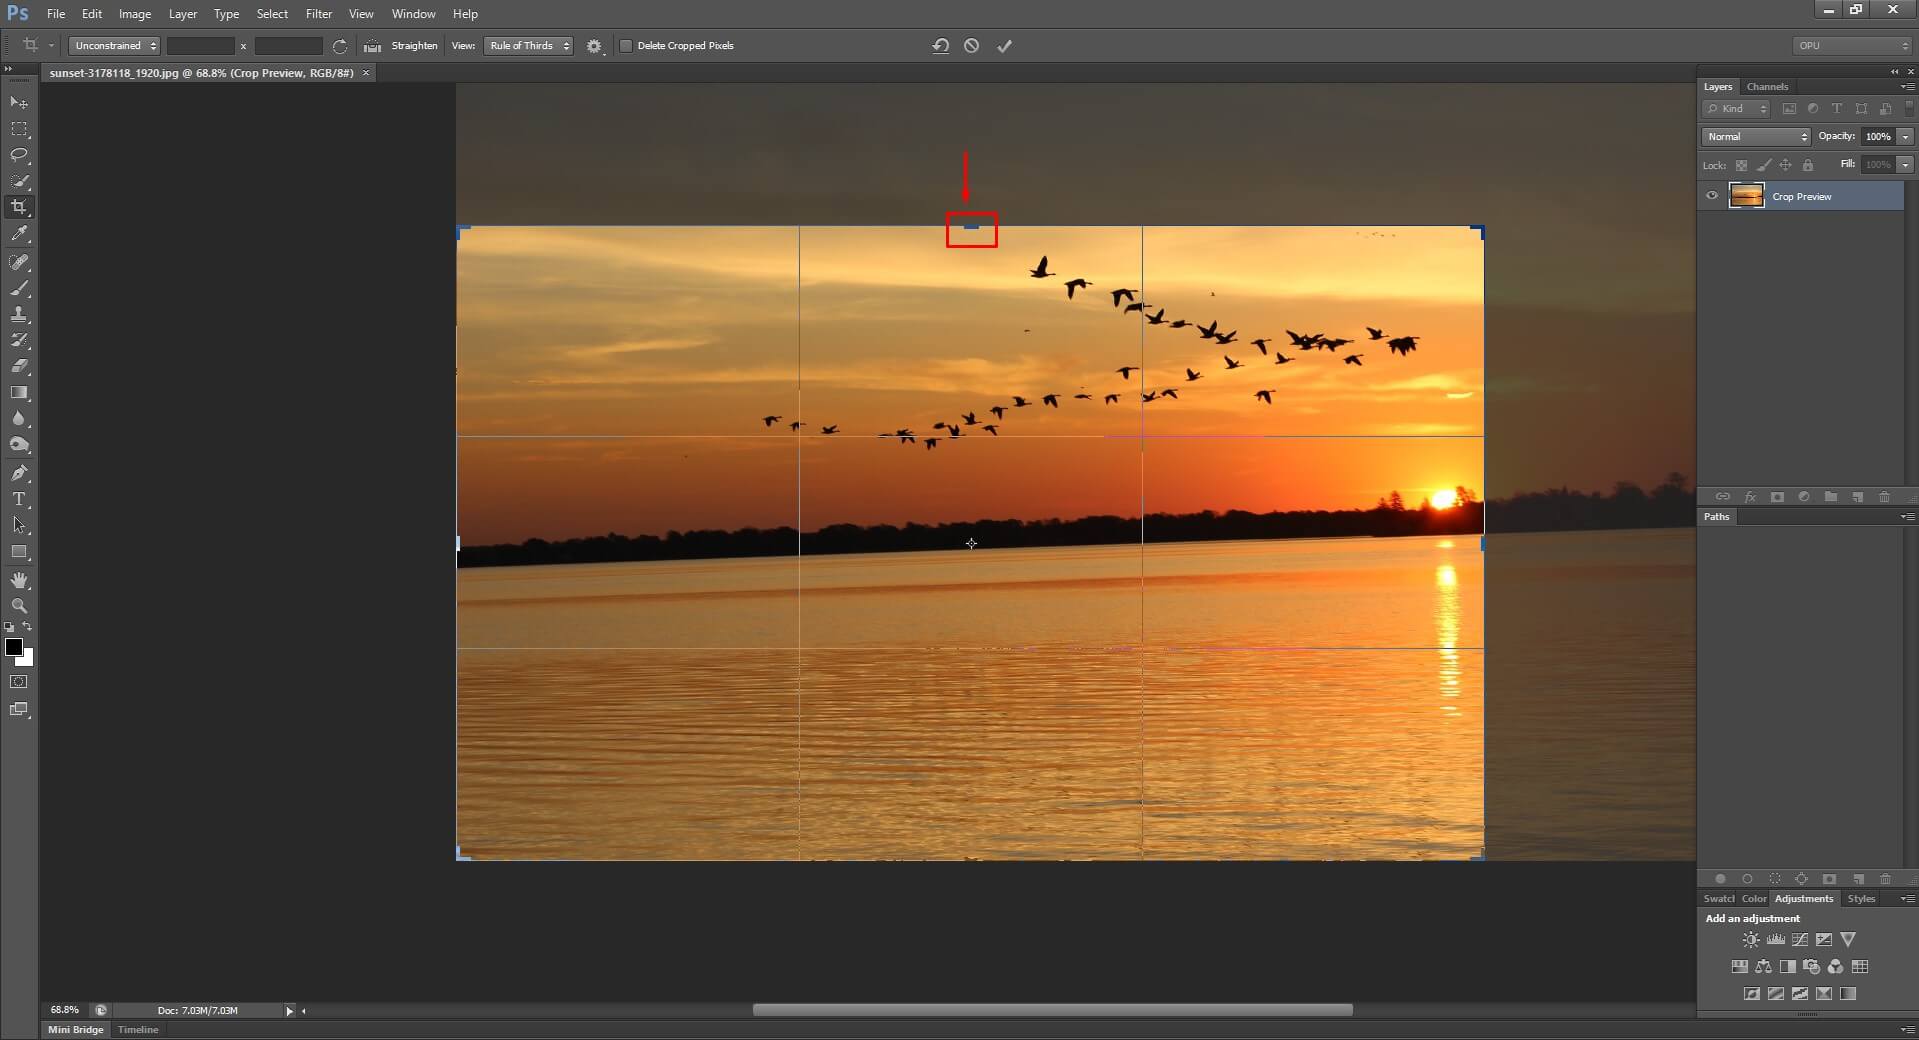
Step 3: Select Cropping Area
Mark the area you want to crop in from the image. The edges of the square box (which will occur after selecting the Crop Tool) are flexible and can be fixed. To keep the ratio the same, move the mouse pointer pressing the Shift button

Step 4: Adjust the Cropping Aria if needed
Adjust the edges of the box to the right size. To skip the ratio you can move the mouse pointer from anywhere avoiding the corners
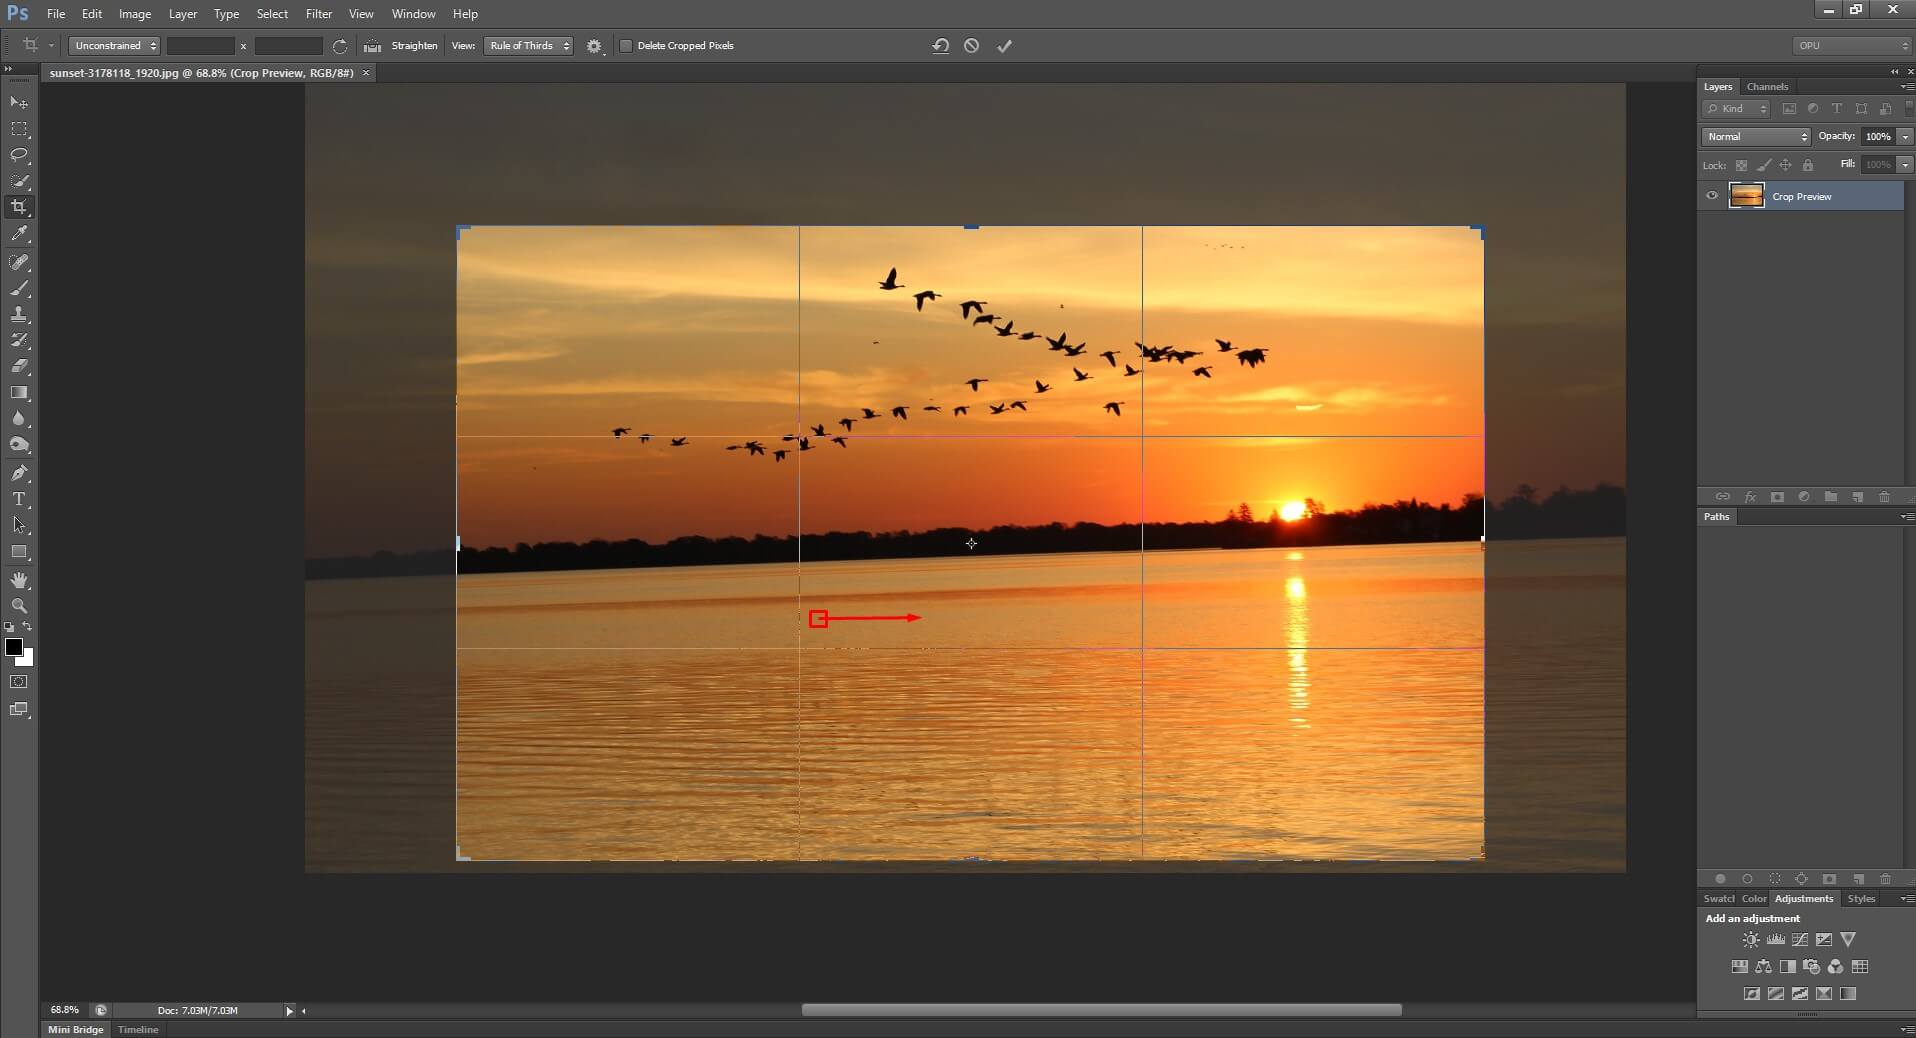
Step 5: Drag the Box
After selection, if needed you can drag the box in the right direction to get the maximum perfection
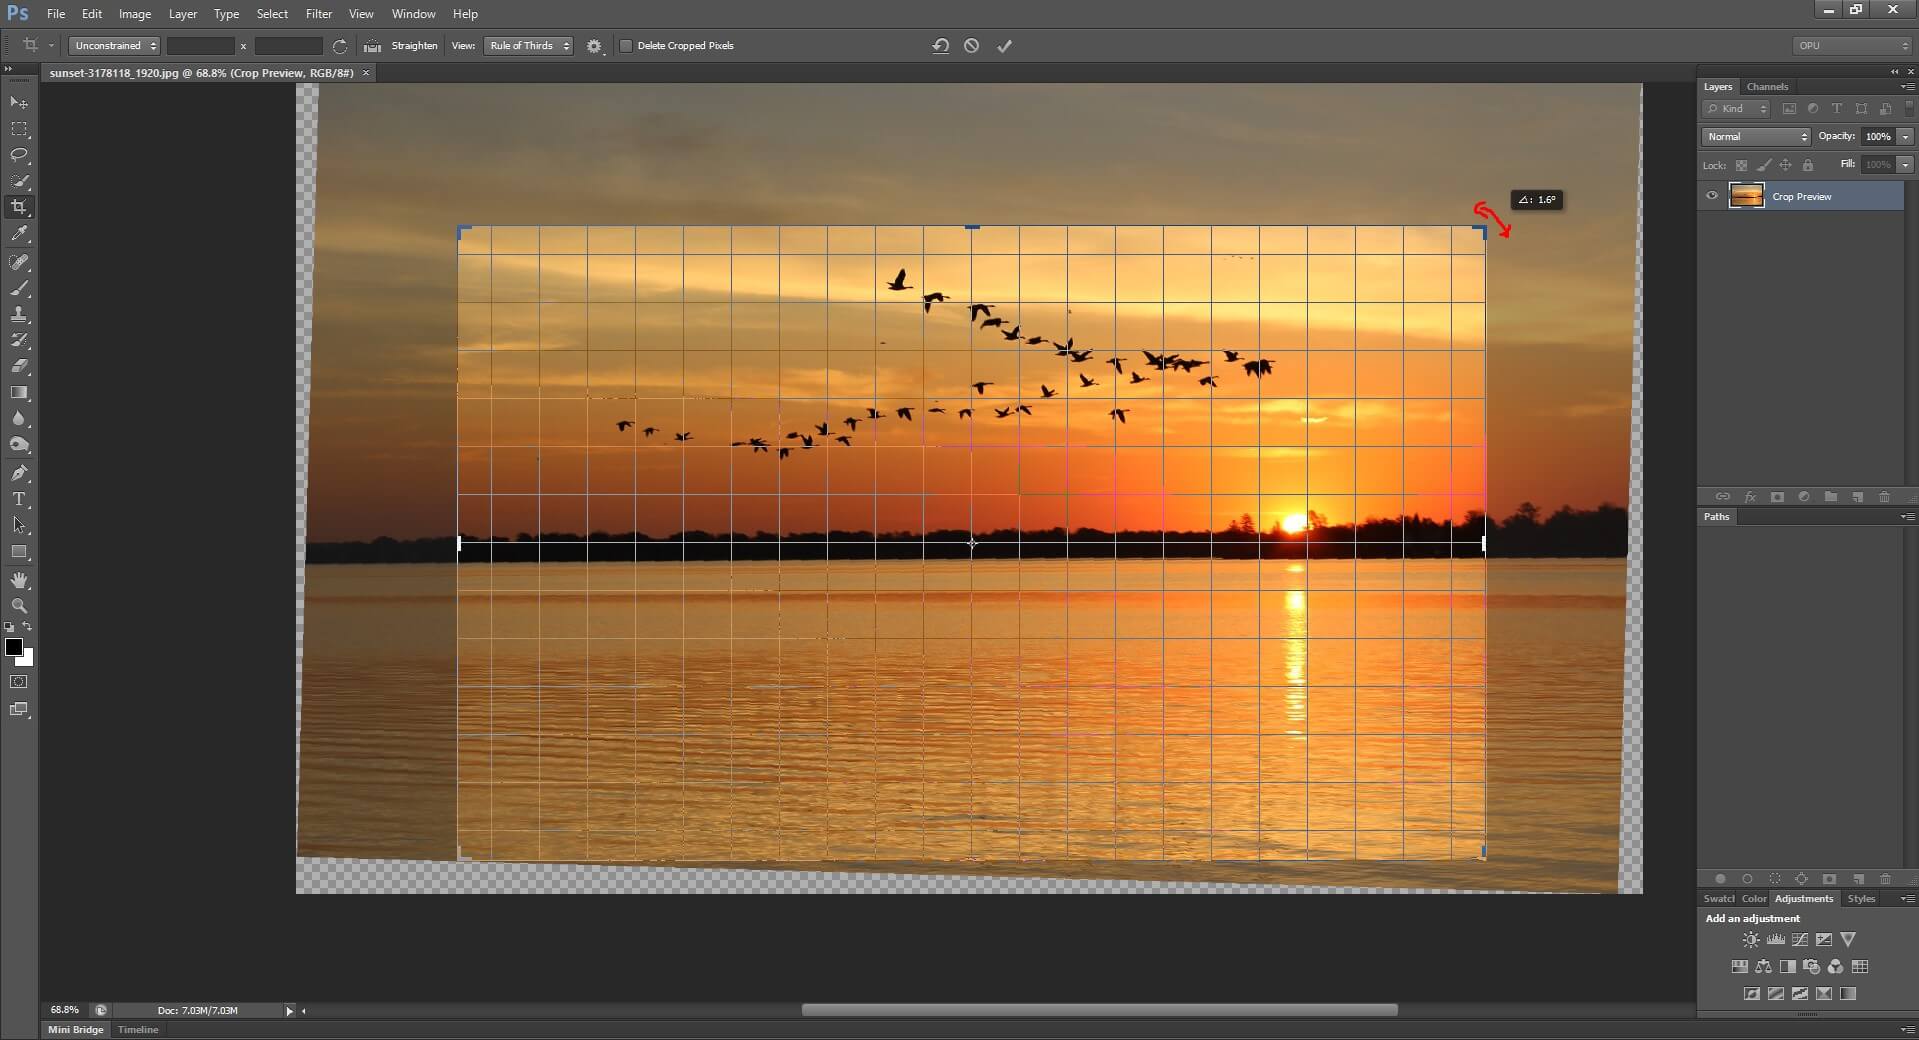
Step 6: Rotated the Selection Aria
Place the mouse pointer at the outer corner of the box and you will find a mouse pointer with two-faced aros. Now move the pointer to any direction to rotate the box and straighten the image. Also, align the image with the boxes you see while cropping. You can use this feature to make any image horizontally perfect.
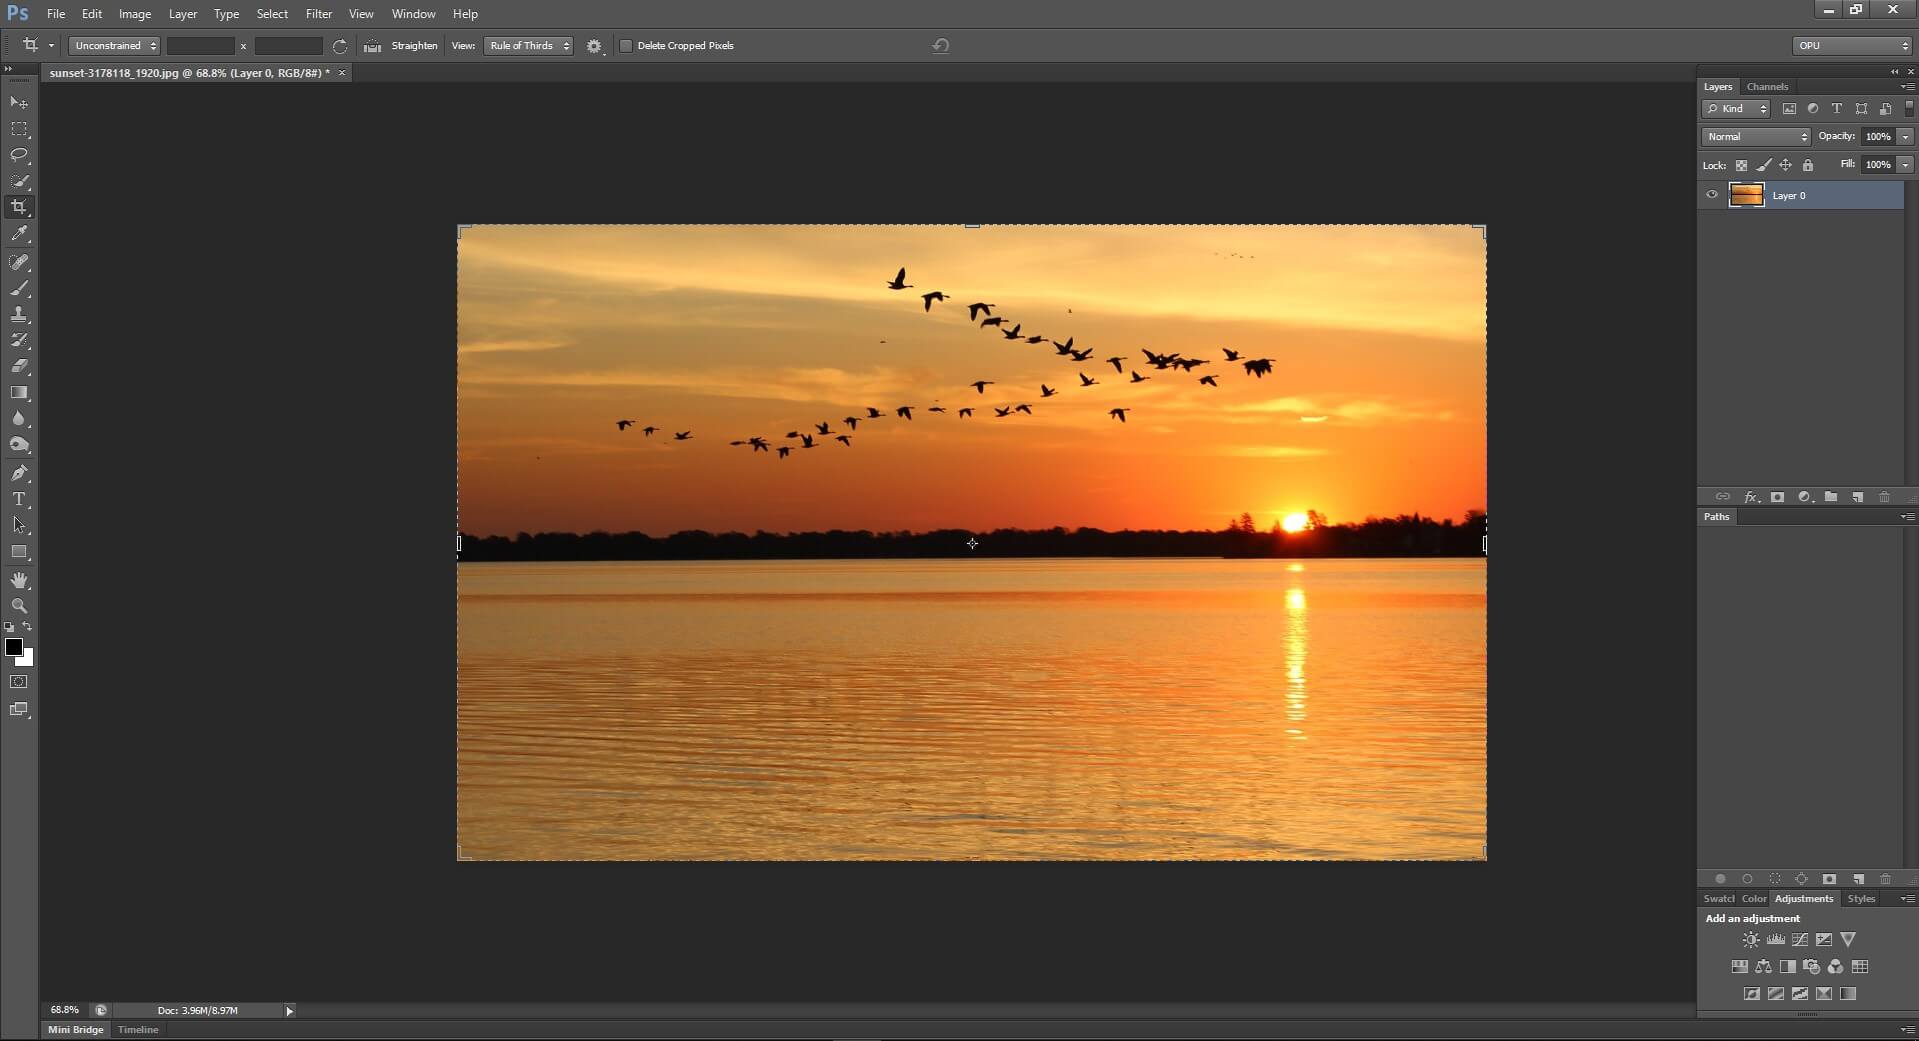
Step 7: Crop the Image
Once you are satisfied with your selection press the enter button and crop the file and save it.
The technique can be applied to Adobe Photoshop PS6.
However, at times cropping will not be as easy as this one. Sometimes you will have images where you cannot apply the technique and will have to take alternative techniques to get your works successfully done.
Apply Another Technique [ Best Applicable for Photoshop CC]
Here I will share another technique that you can apply with Adobe Photoshop CC to crop and adjust your images.
Step 1: Open your image file with Adobe Photoshop CC
Like previously, open the image in Photoshop by clicking > File from the menu bar. Then click > Open.
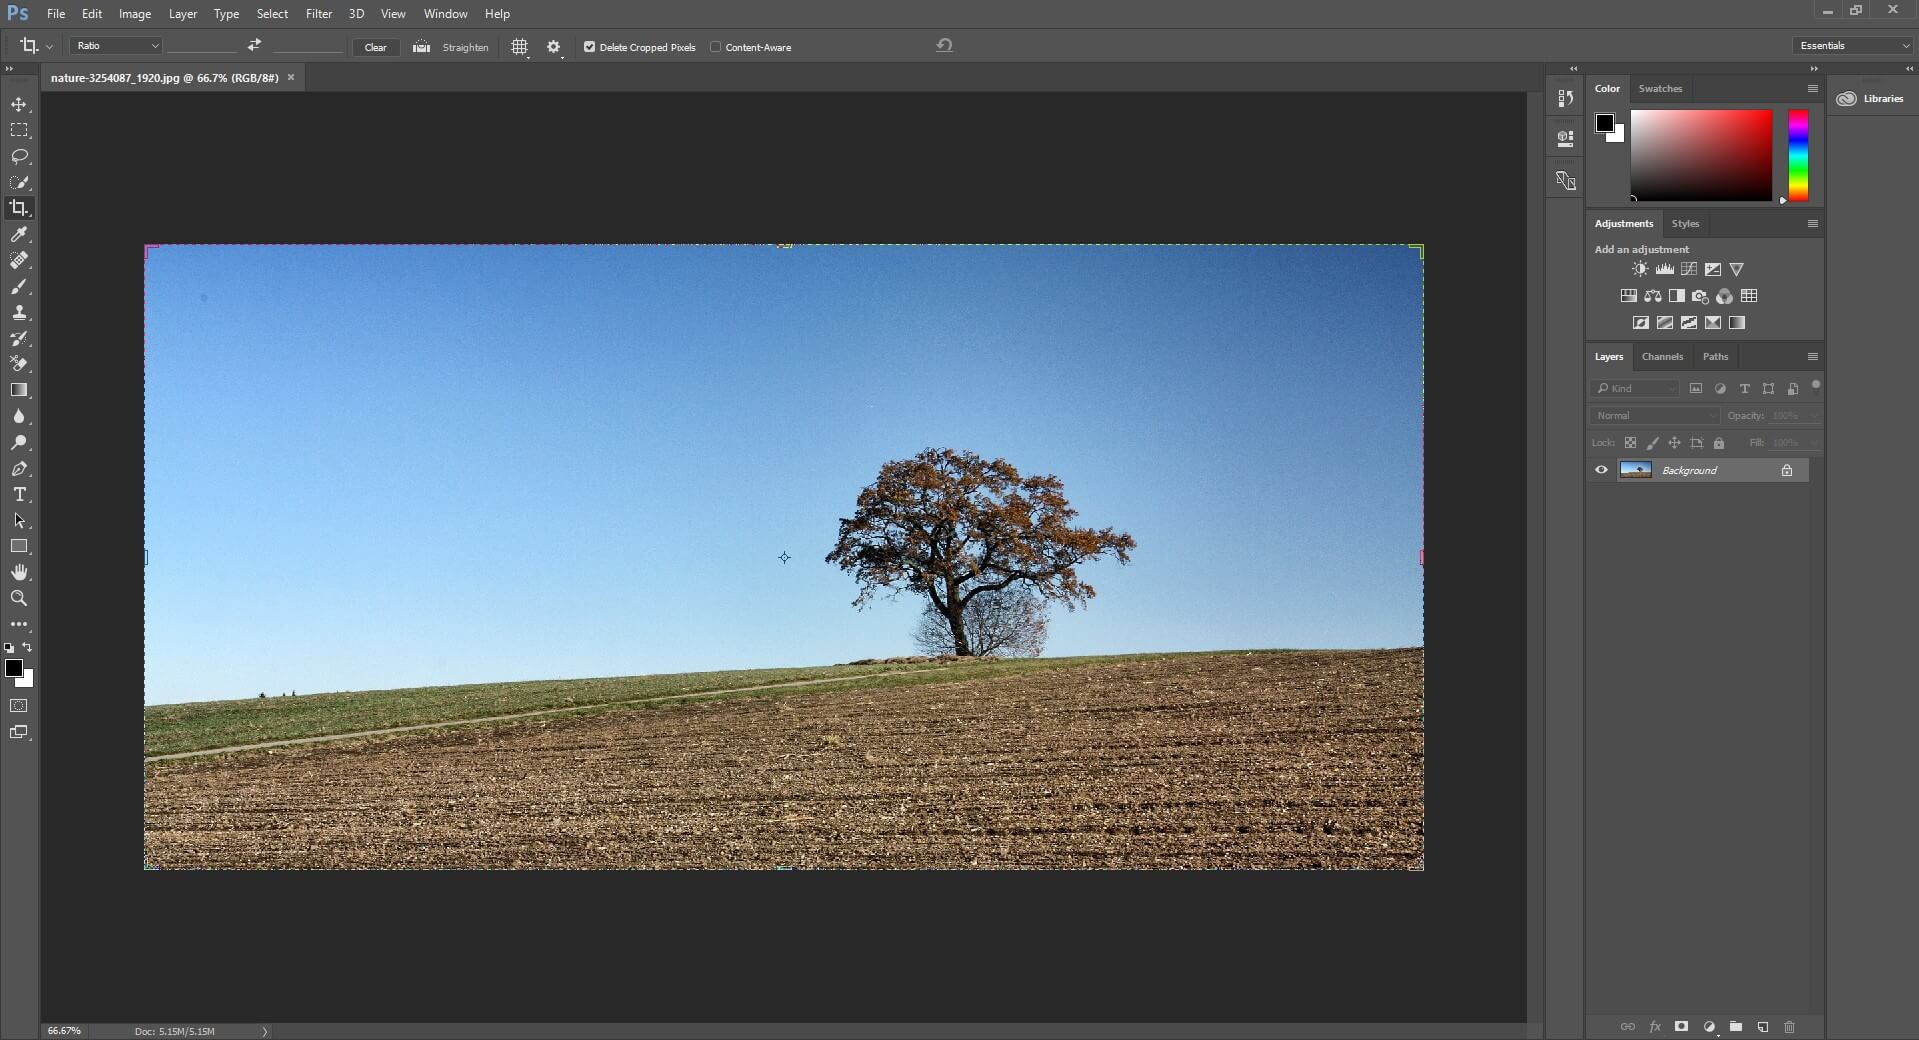
Step 2: Select the Crop Tool and Use the Straighten Tool
After selecting the crop tool you will see an option (Straighten) in the menu bar. To make the image properly horizontal, place the tool on the image and drag it into the direction you want it to get fixed.
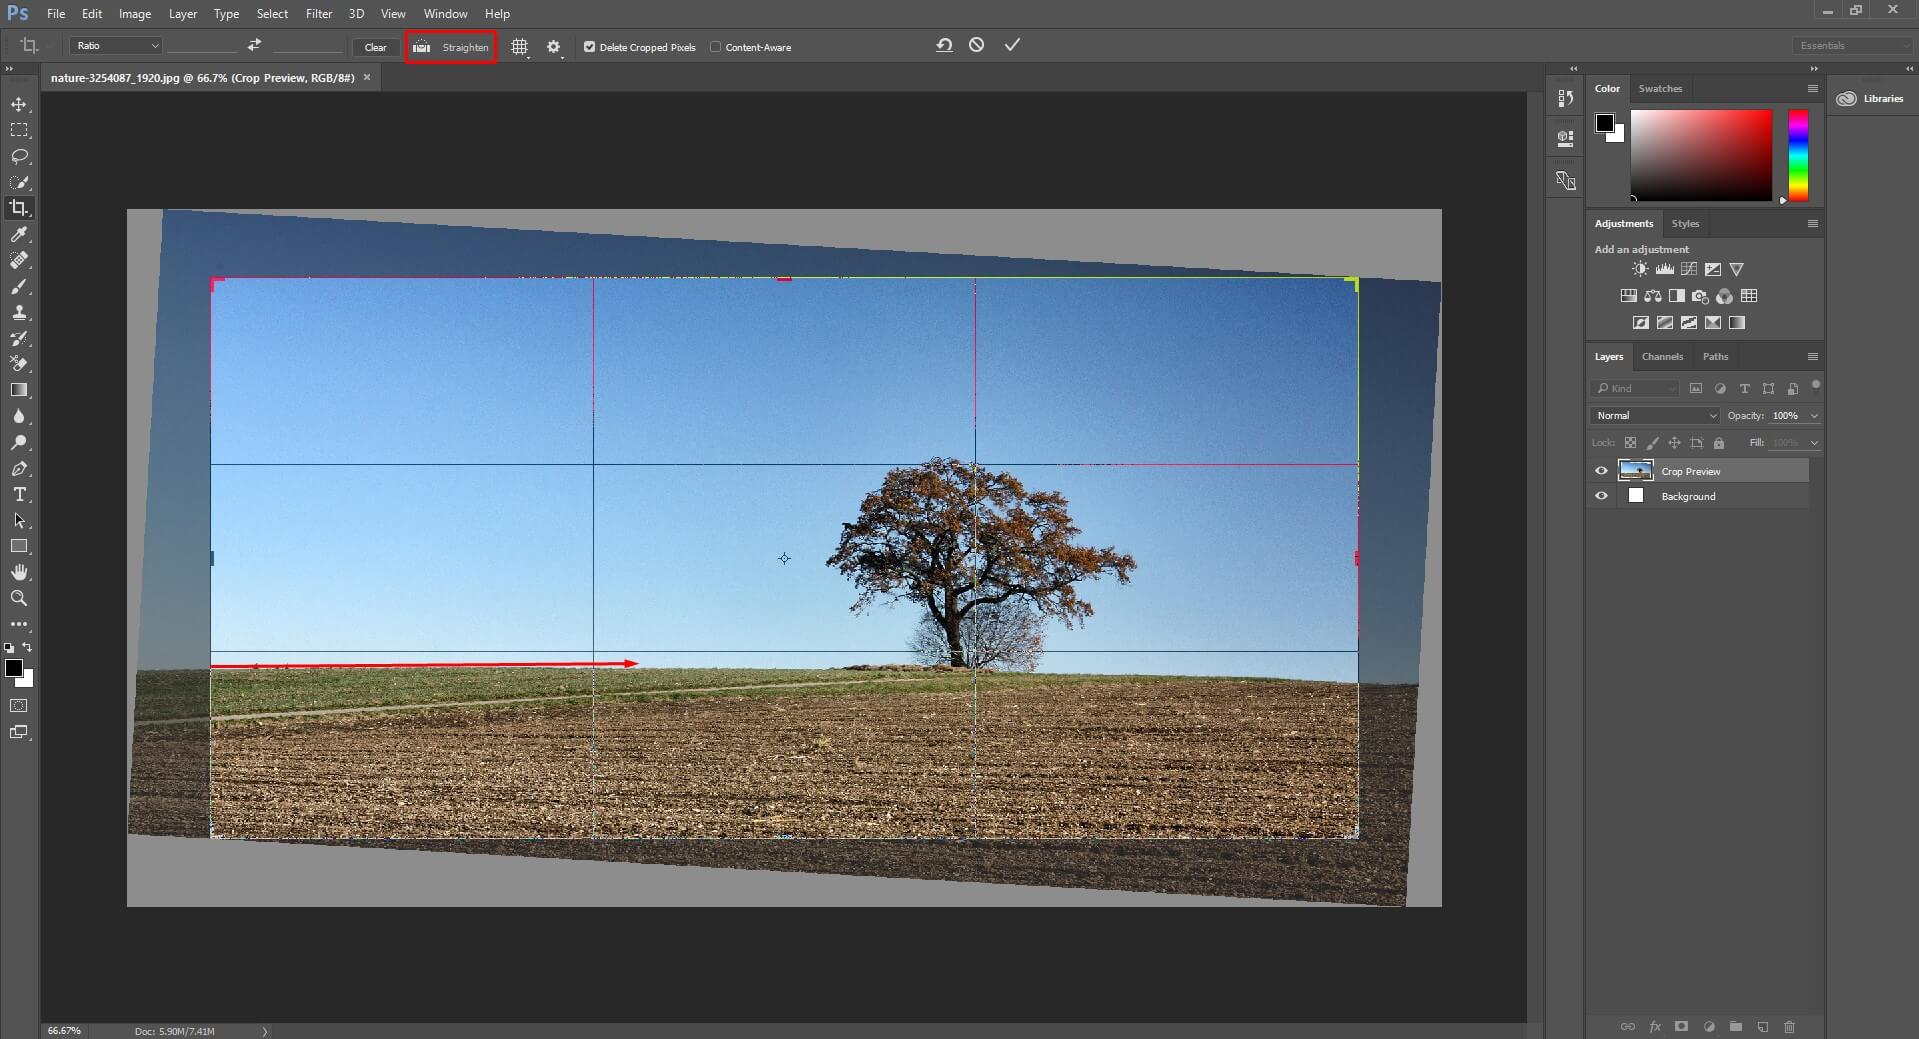
Step 3: Drag the Box for Maximum Perfection
Then drag the cropping box to the extra zone where you want to fill the image for a clearer view

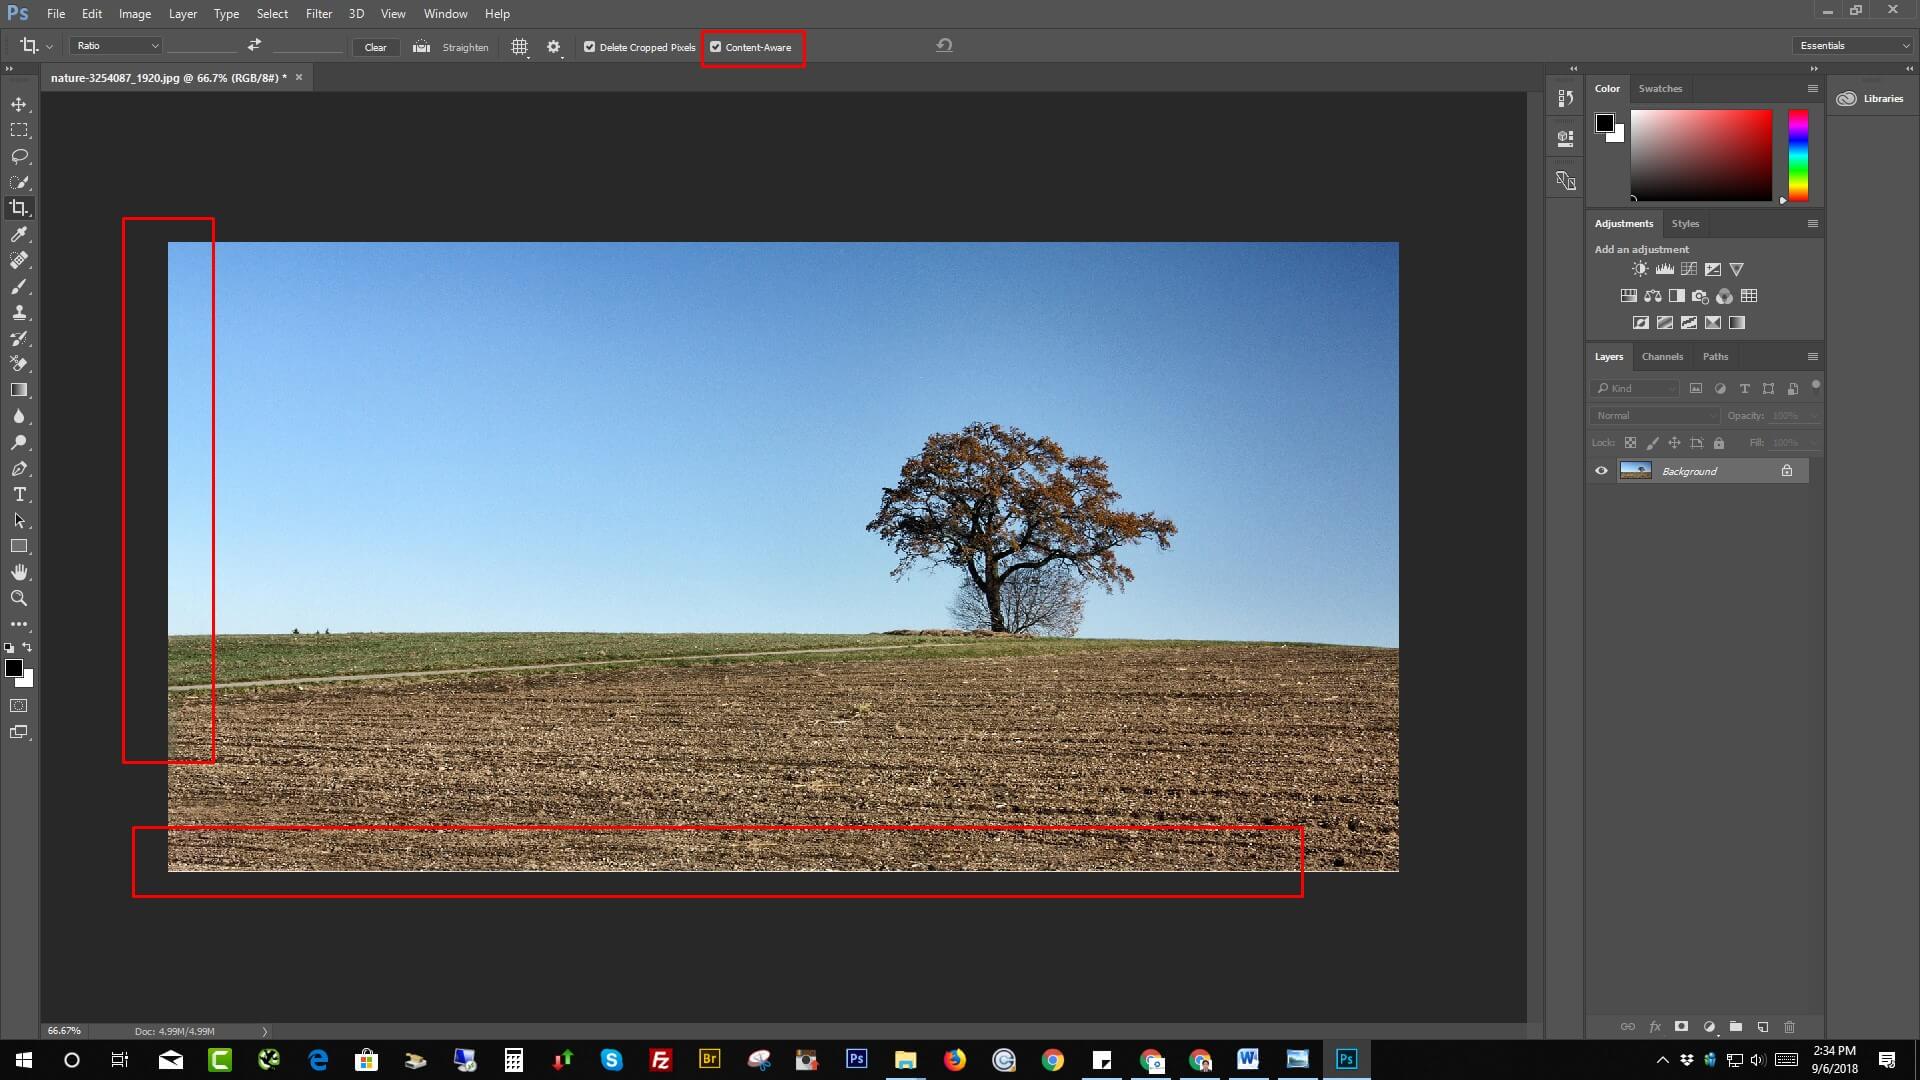
Step 4: Use Content-Aware for Fixing Pixels Gape
After selecting the image with extra pixels, simply click on the “Content-Aware” option on the top menu bar. Then press the Enter button to crop the marked area [N.B: You will find the option only in Adobe Photoshop CC]. Photoshop will automatically fill up the extra pixels of your image and make it a complete fresh looking image
To get a different crop ratio than default one follows the steps mentioned below:
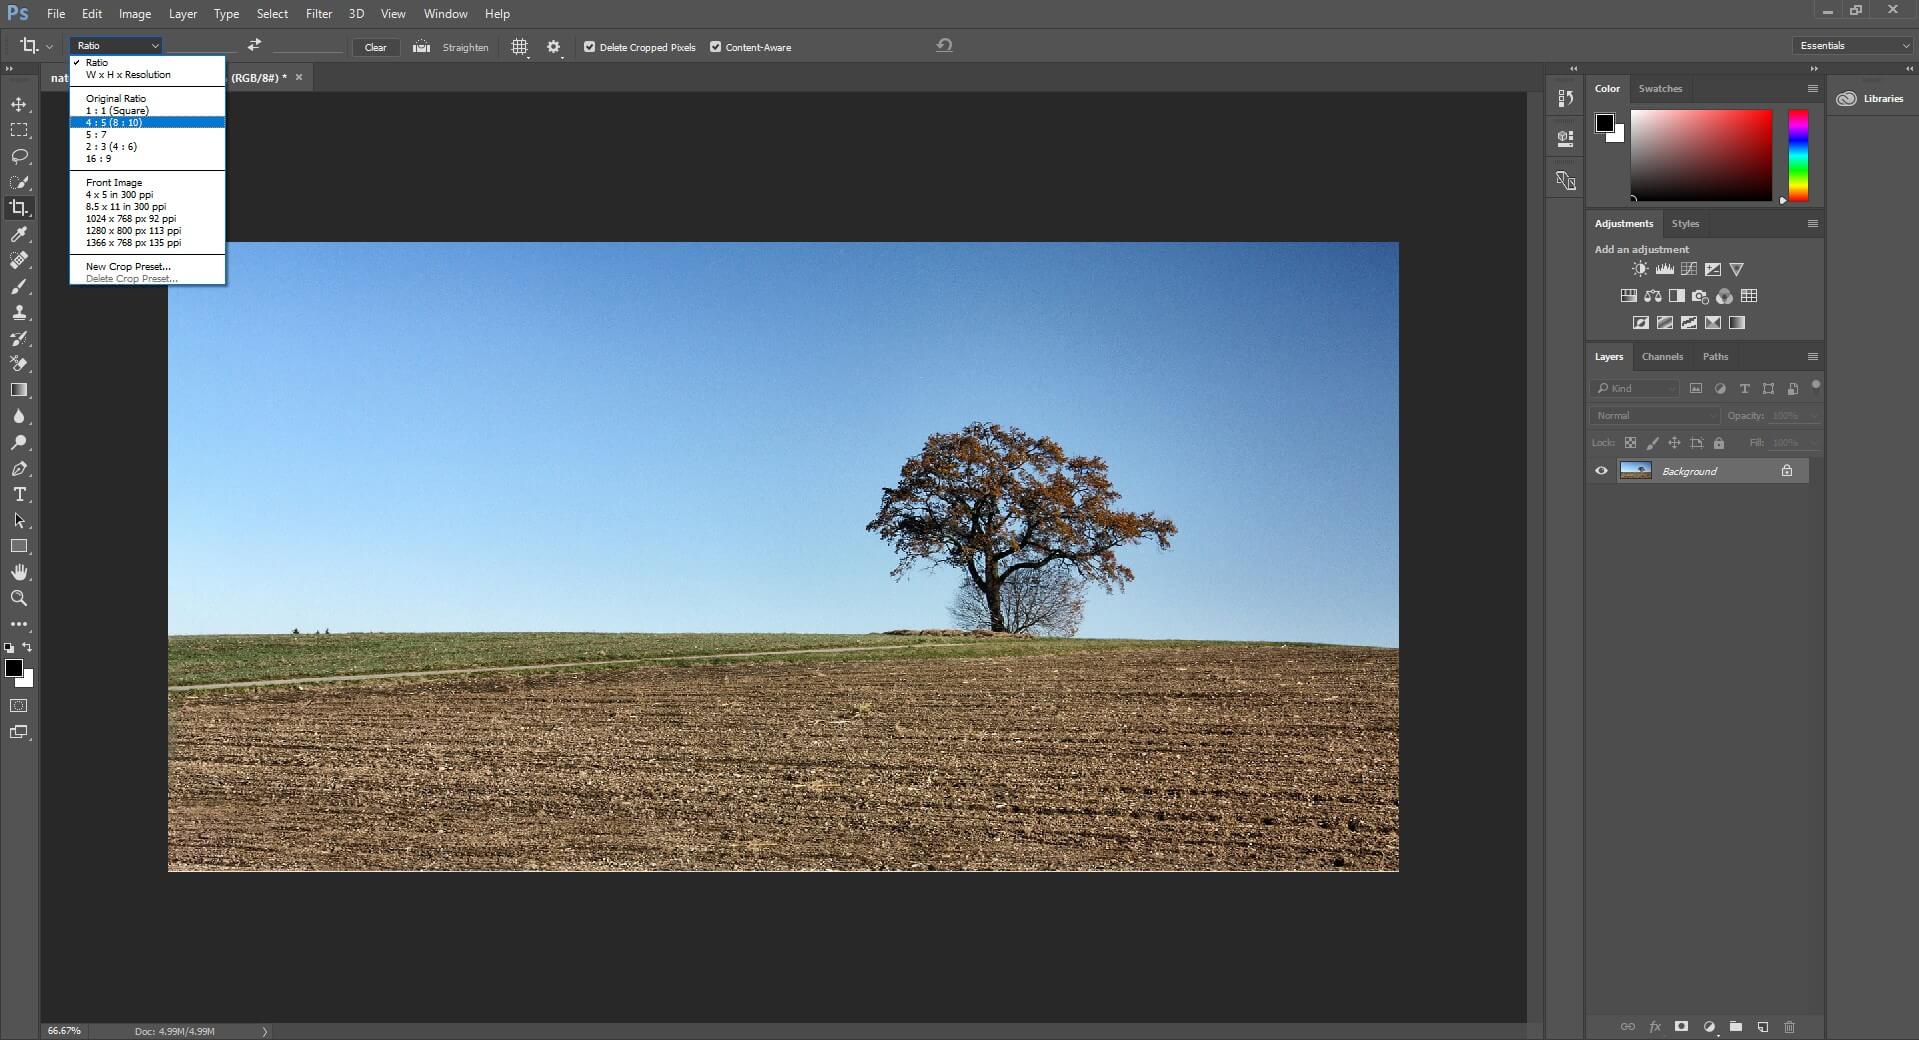
Step 5: Fix Image Ratio
Click on the “Ratio” option on the top left corner and select the ratio you want with your image
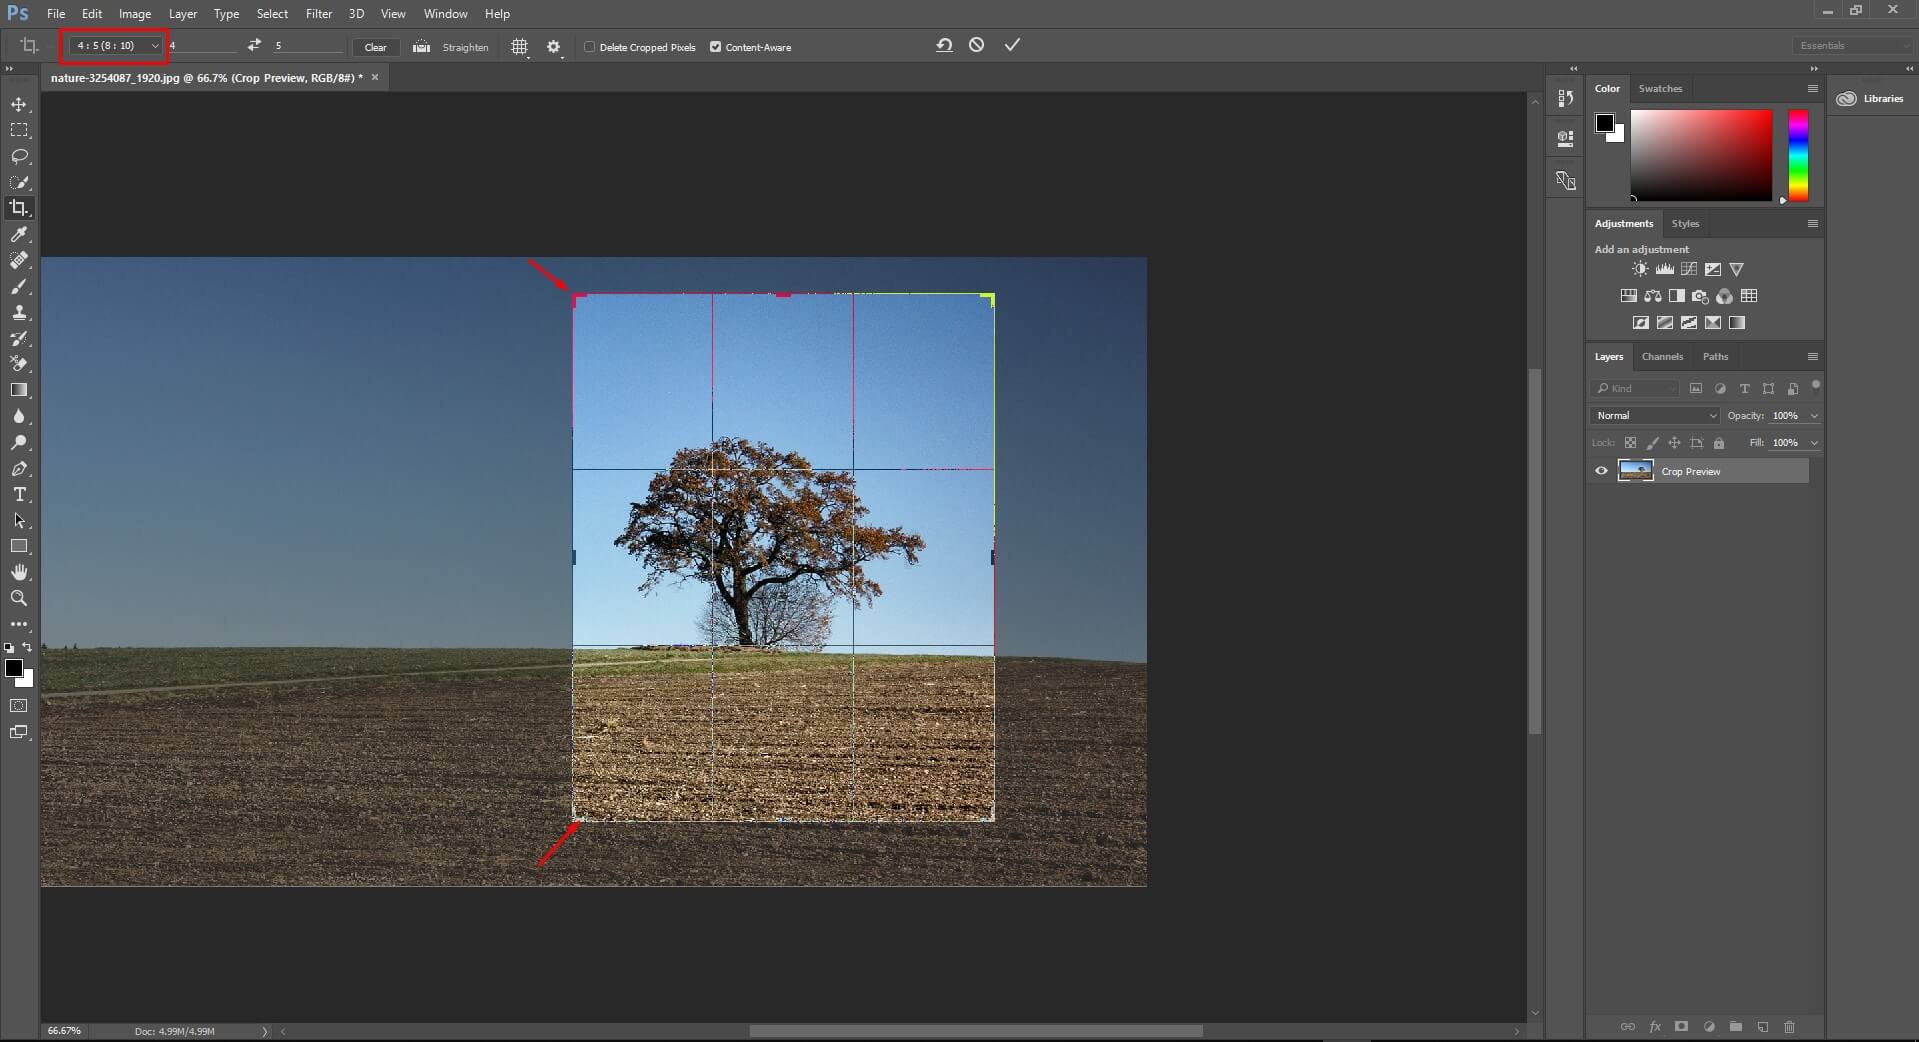
Step 6: Change Ratio if Needed
At this stage, you can change the ratio of your cropping tool with the mouse pointer only. No need to press the Shift button along
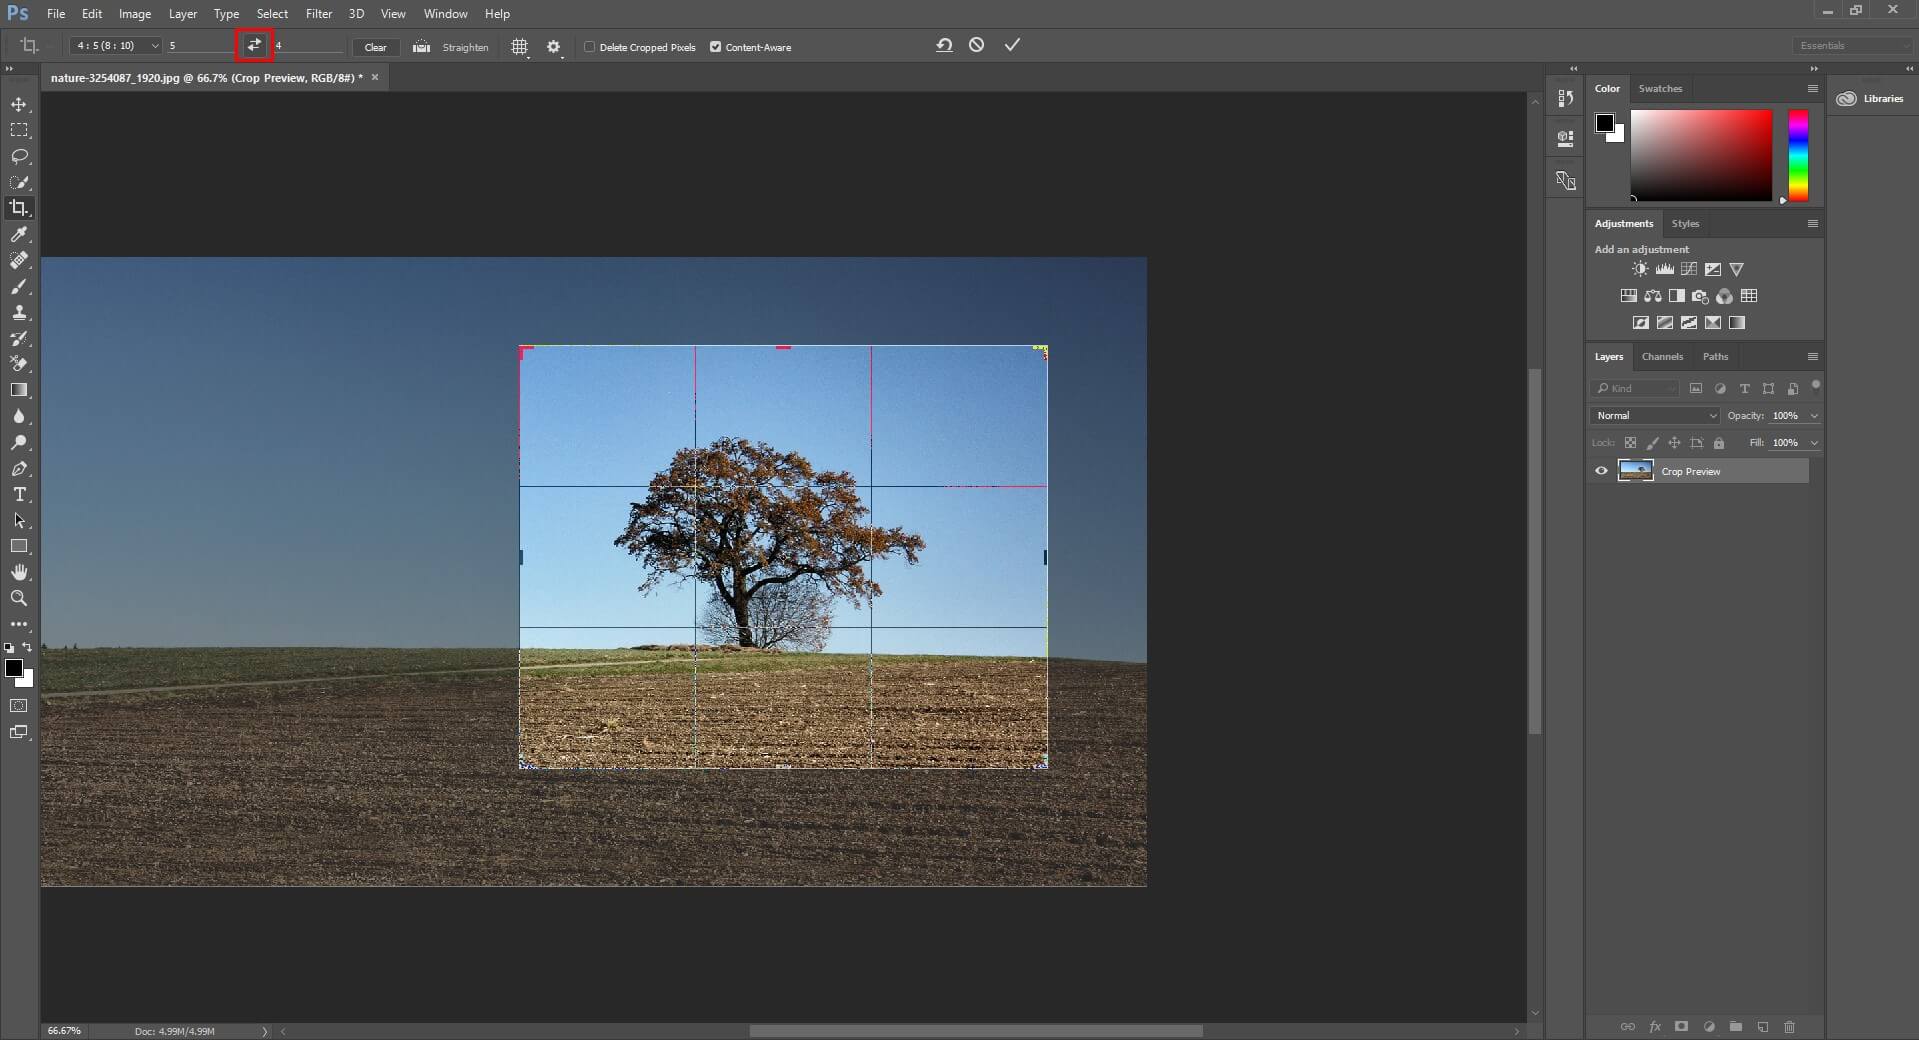
Step 7: Fix Horizontal or Vertical
To change the position (from horizontal to vertical), click on the aero button (red marked) at the top toolbar
Step 8: Save the image
If you are finally satisfied with Straighten and cropping, press enter button. Then save your image and you are good to go …
I hope the article will help you to understand the right way of cropping and straightening your images with Adobe Photoshop. If you have any queries on professional photo editing, please leave a comment below and I would love to answer them as soon as possible.
Also, do not forget to share the article if it is helpful to you.
Happy learning, people!